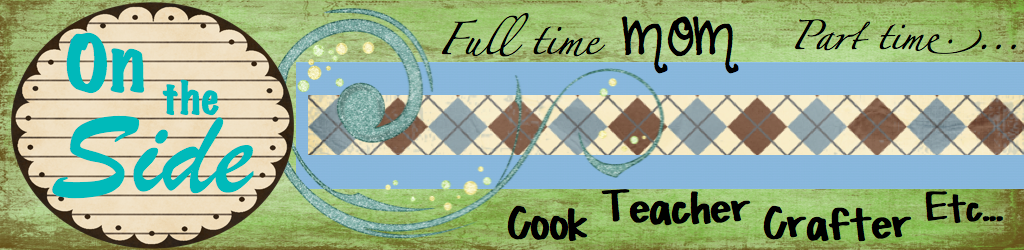

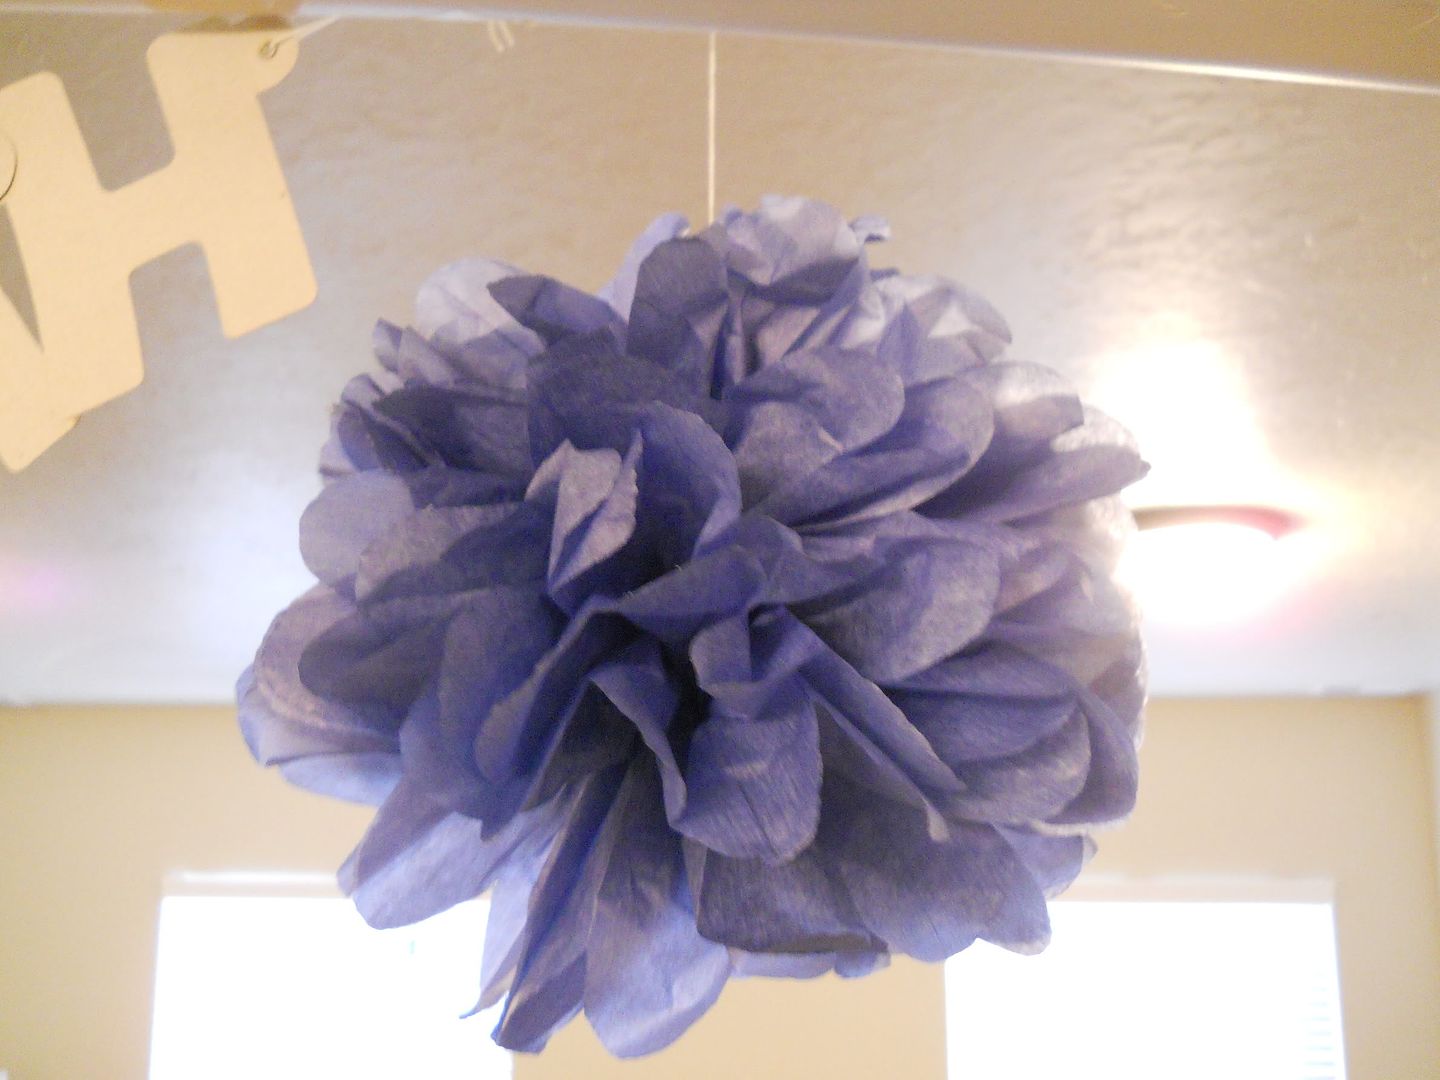
Want to make an easy decoration for a party? Tissue pom-poms are super easy,
and I think they are really cute. Here's what mine looked like at the end.
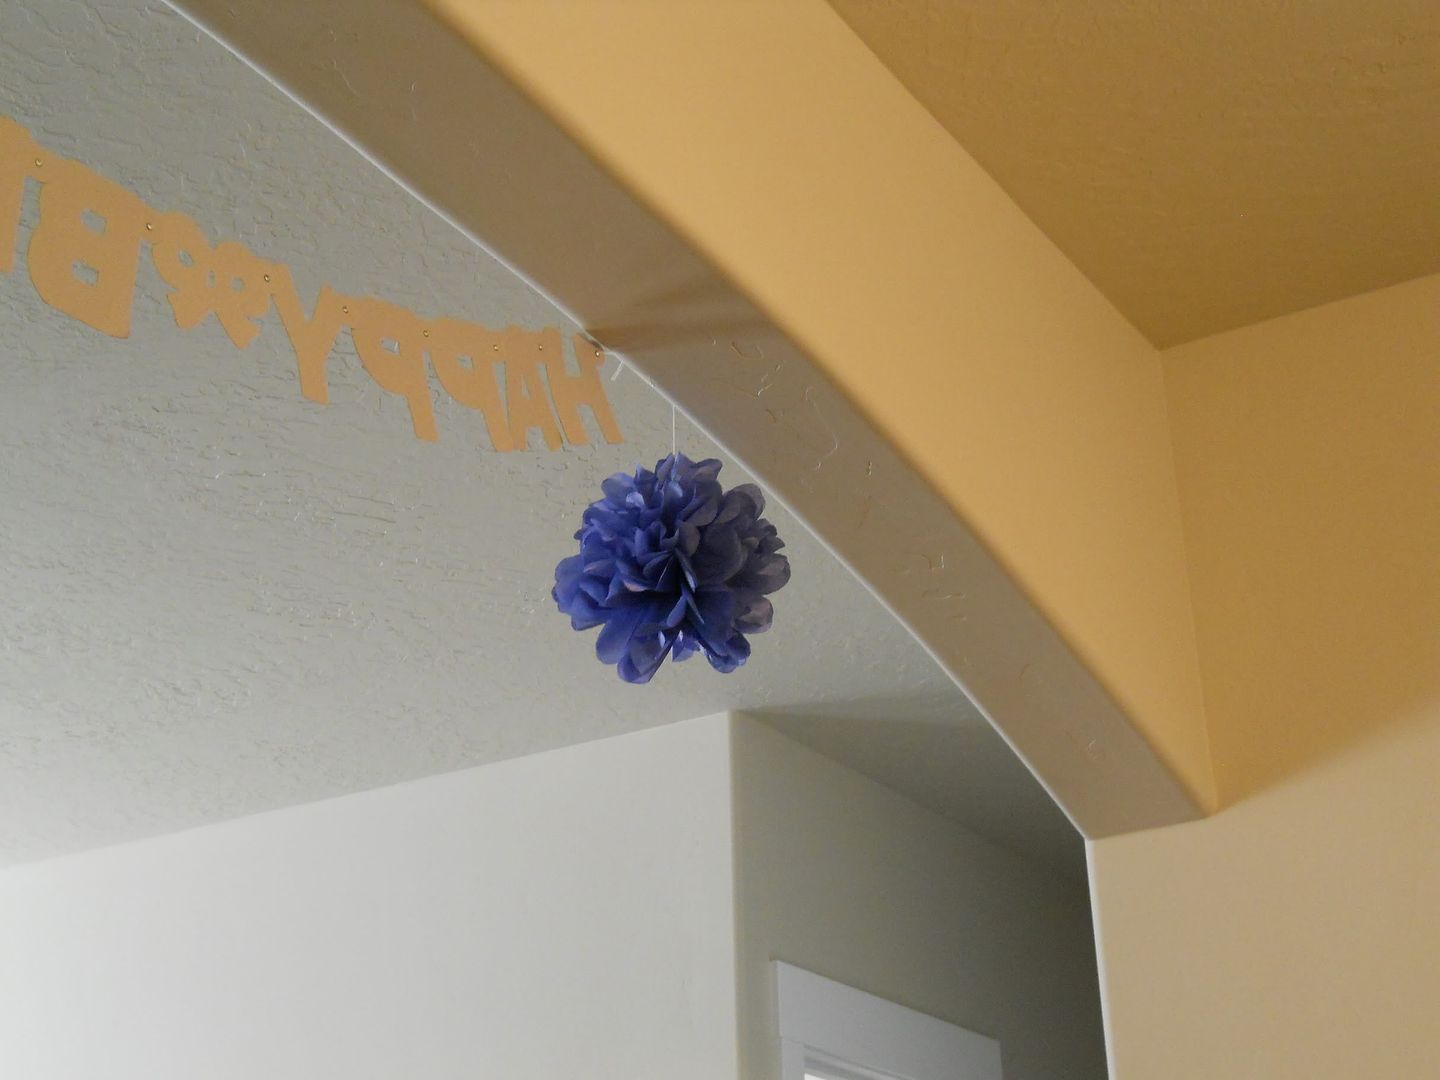
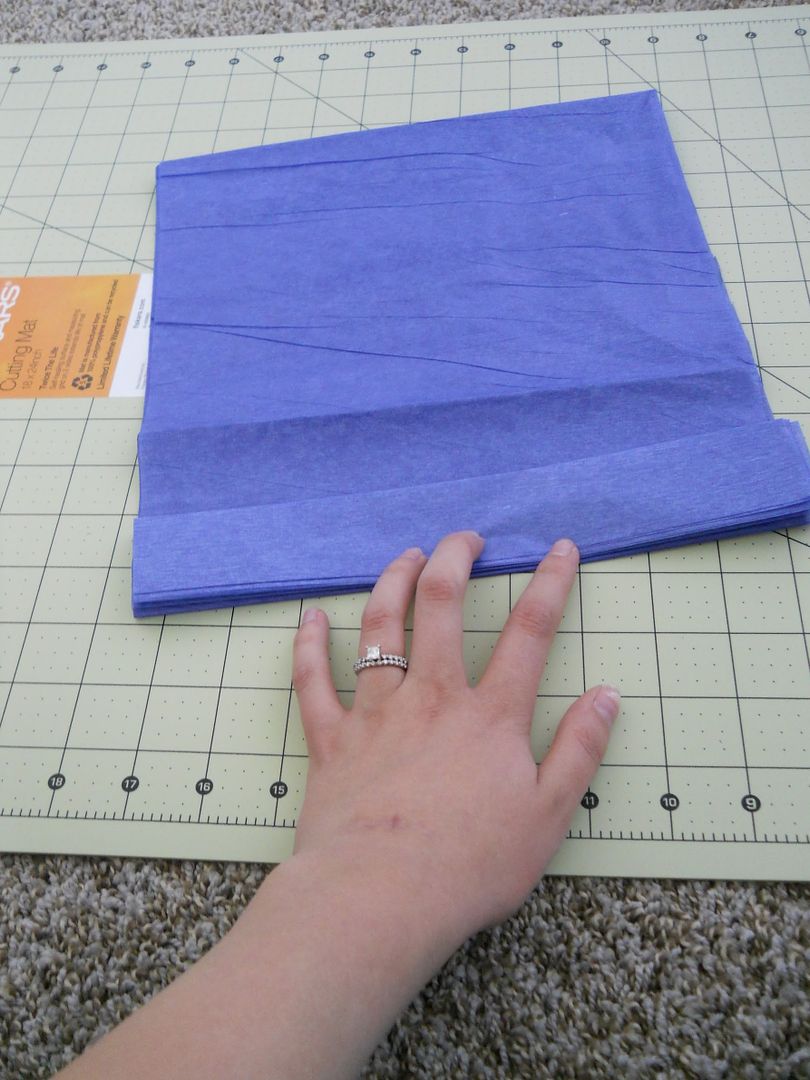
Step 1: Cut 6 pieces of tissue paper into a rectangle 10" by 20". Line them up on top of one another.
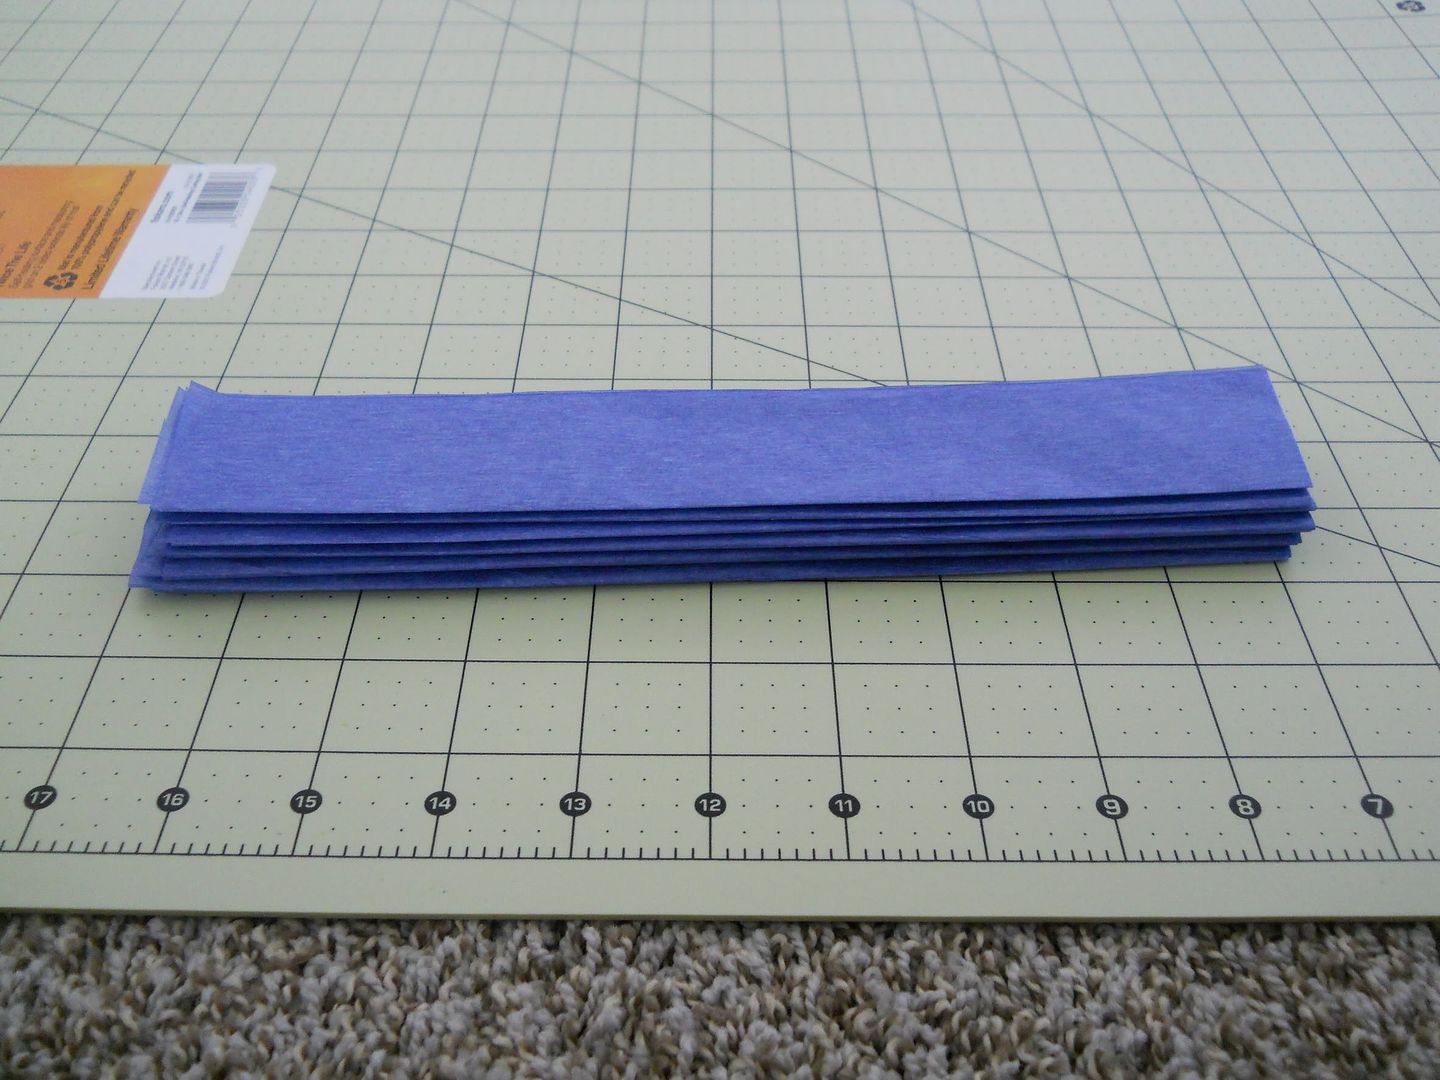
Step 2: Start to accordion fold the tissue paper in 1 1/2" wide folds.
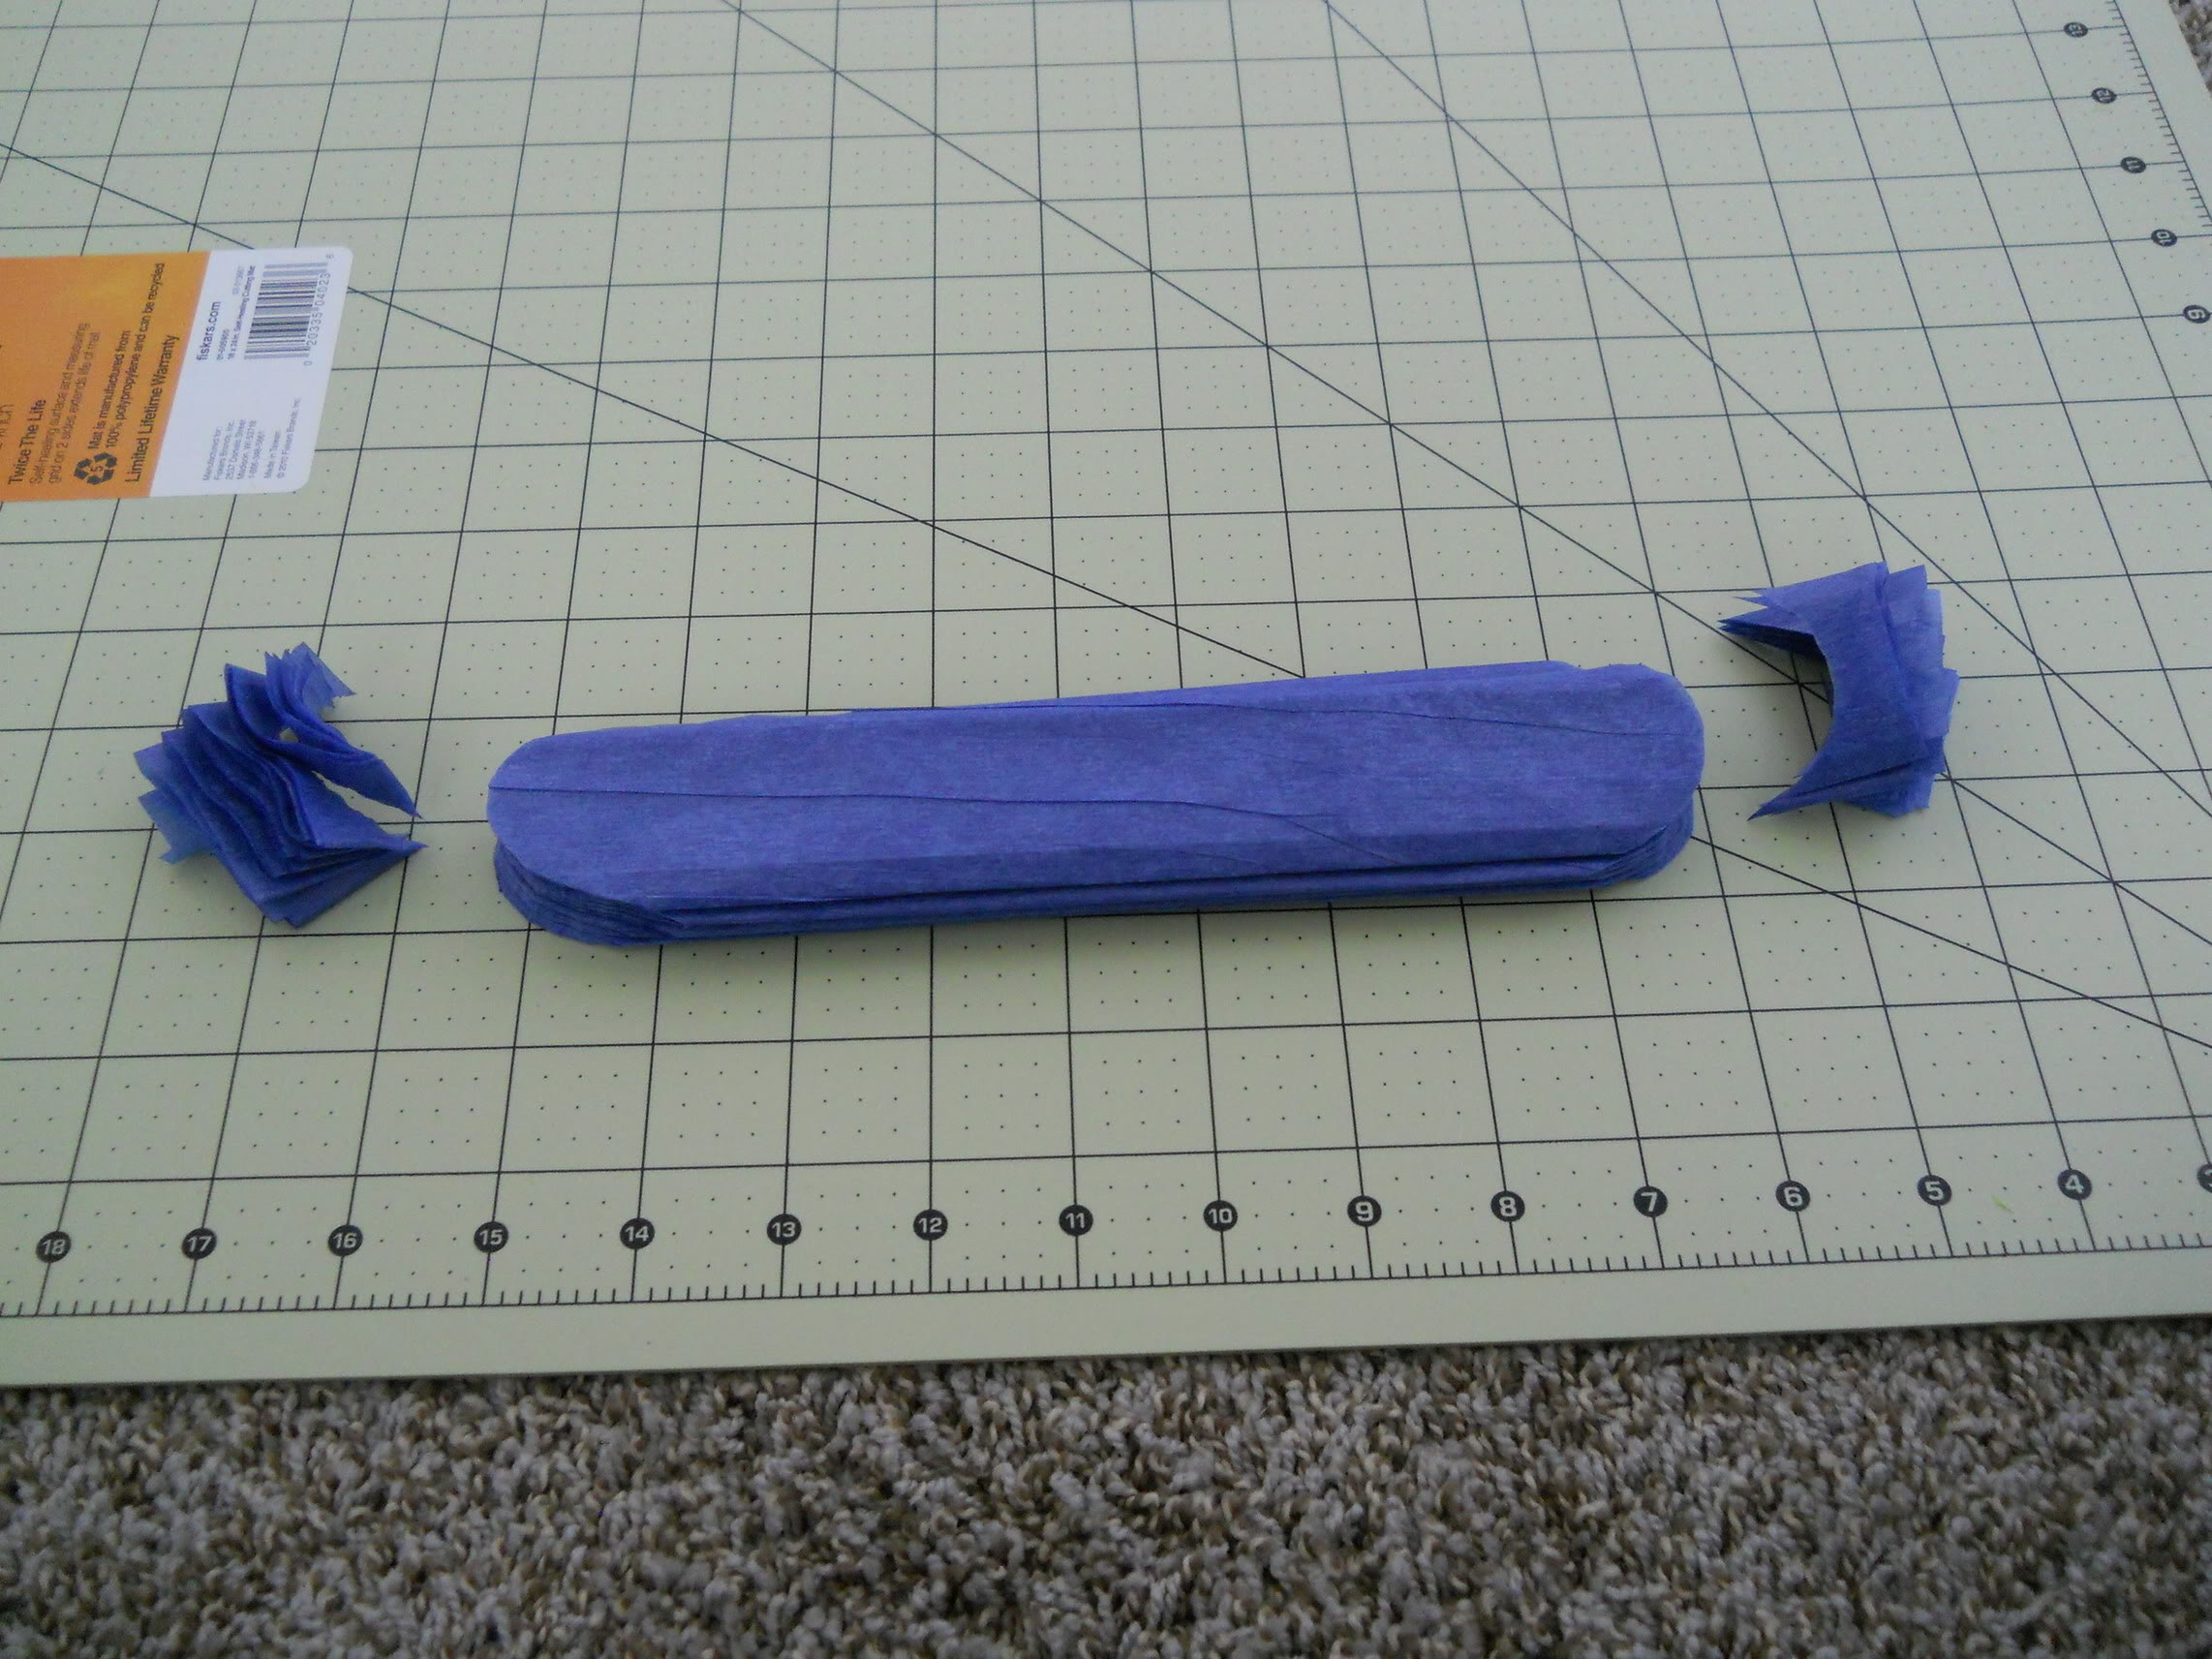
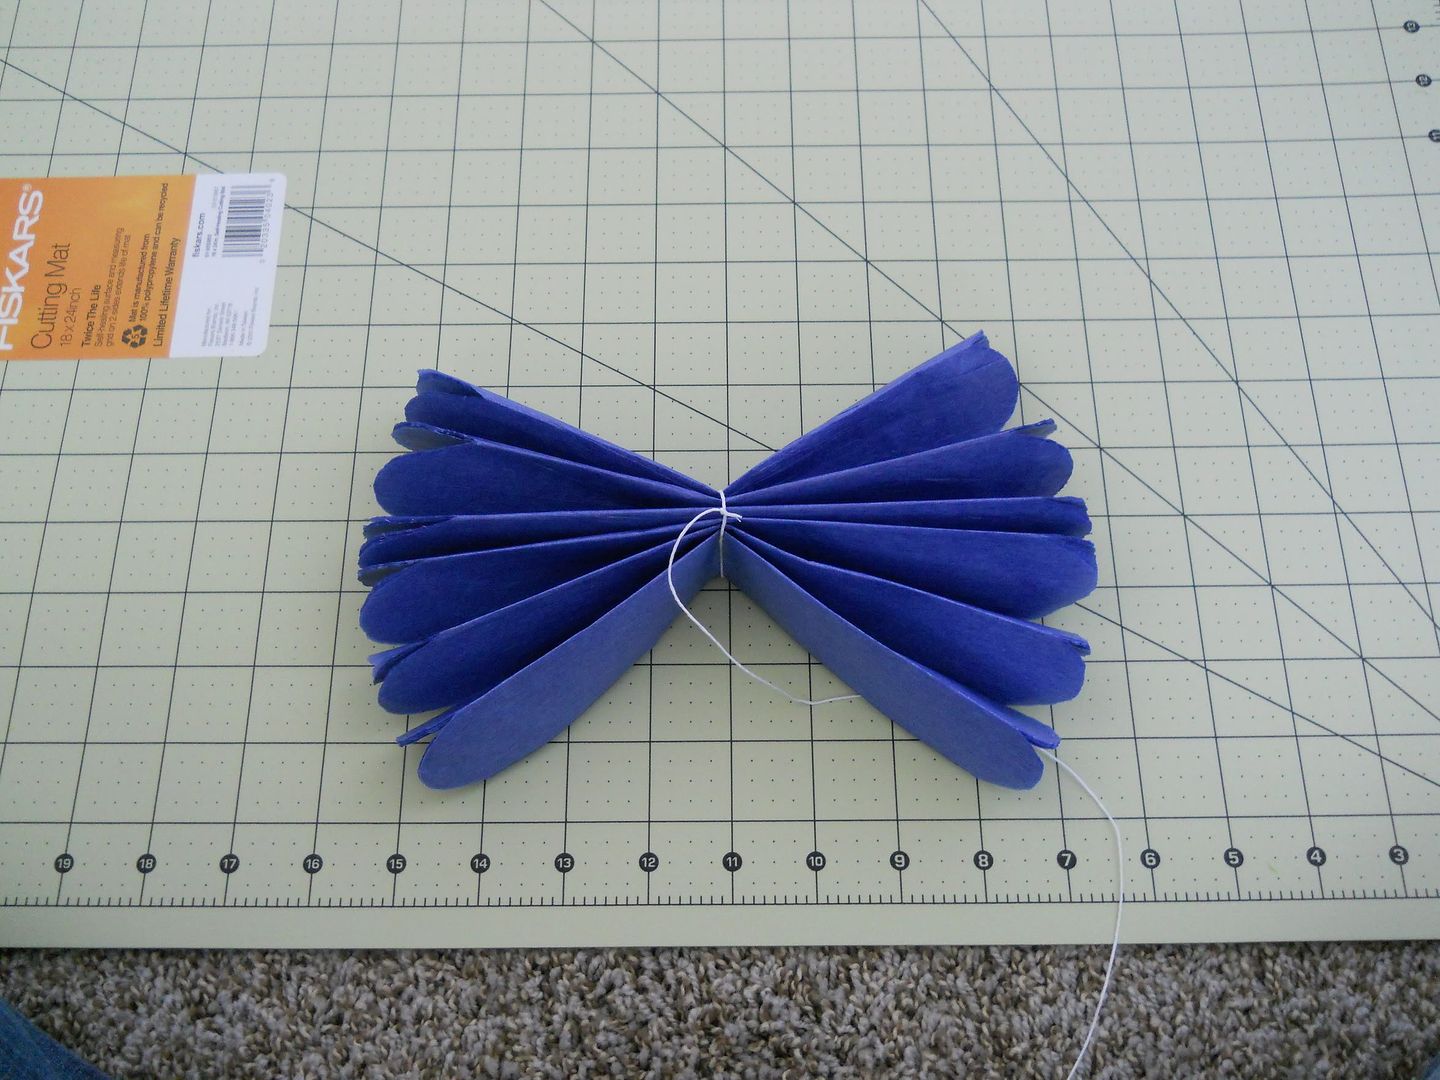
Step 3: When you have the whole sheet folded up, tie a string around the center of the folded tissue paper. You then want to cut the edges of the paper into the shape that you want. Rounded edges or pointy edges look cool for these; I did rounded edges for mine.
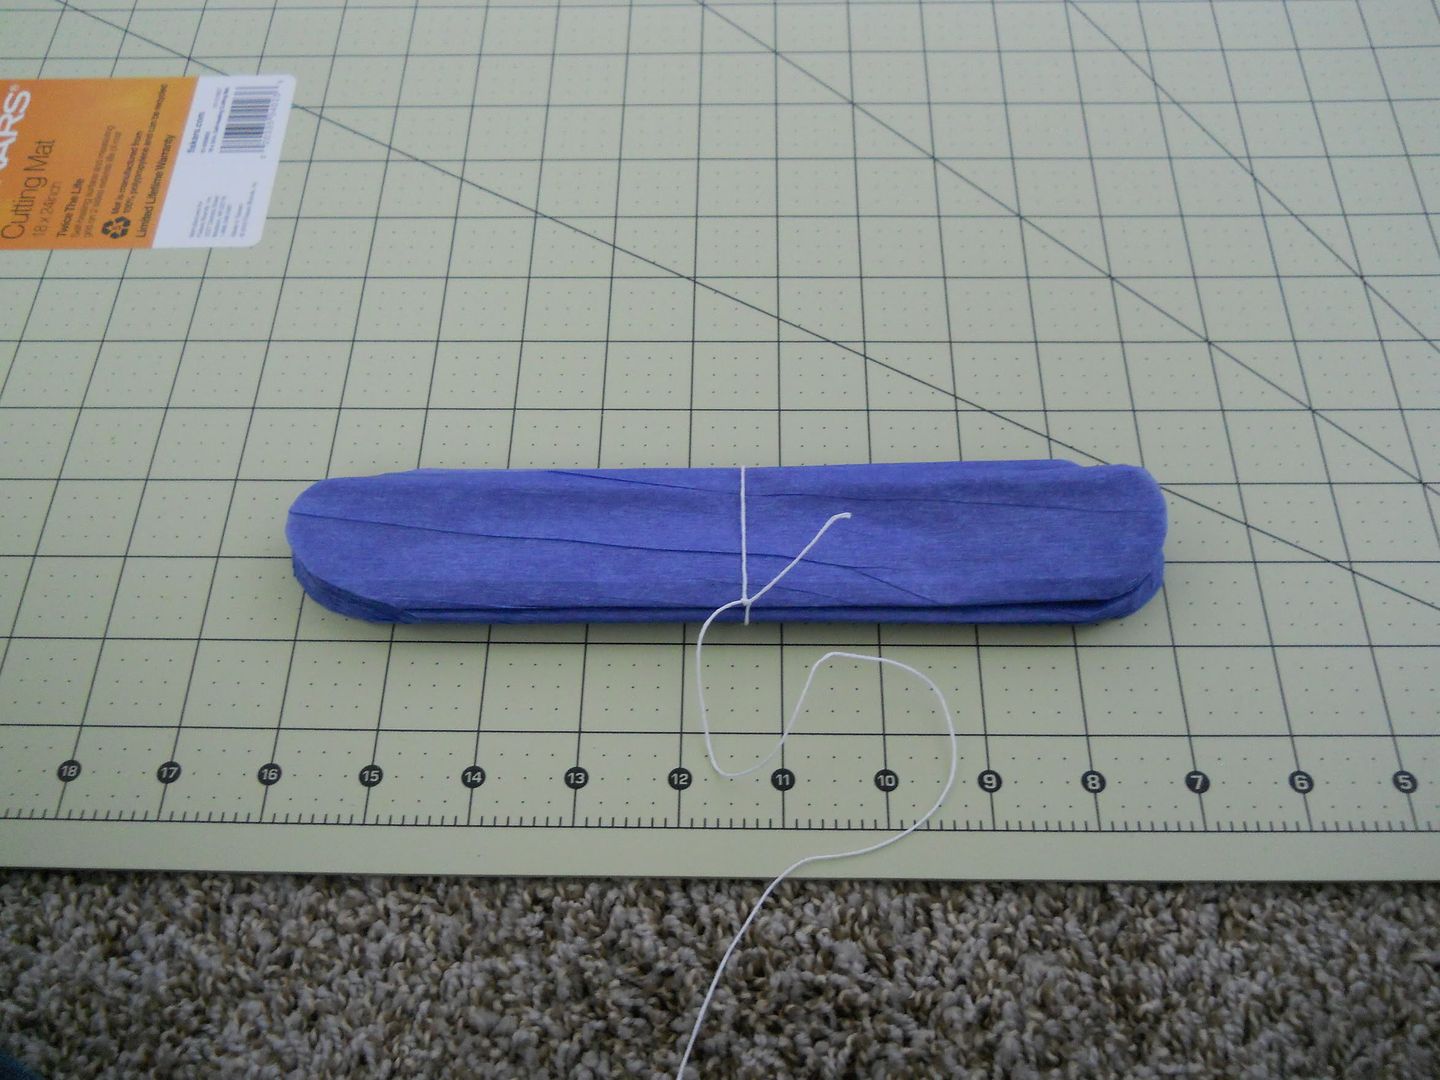
I also did this part backwards...you want to tie the string
around the center so the folds stay together.
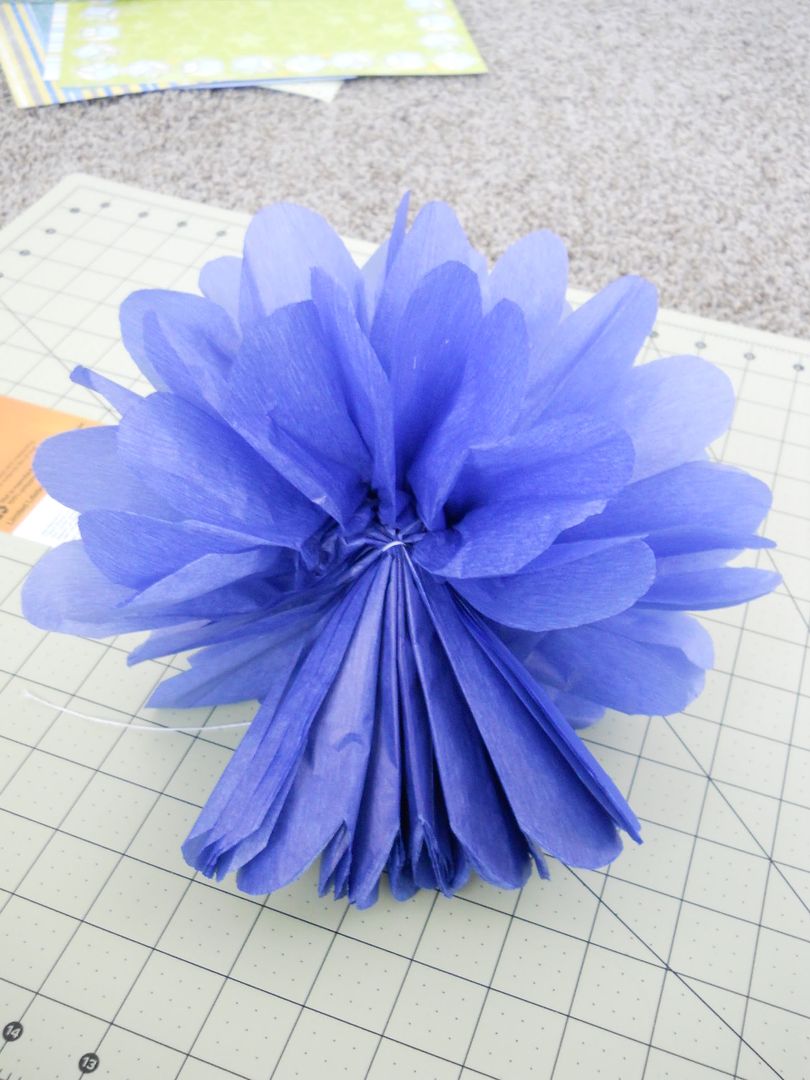
Step 4: Spread the folds out like so...
Step 5: Start to carefully separate the layers of tissue paper away from each other;
pulling towards the middle.
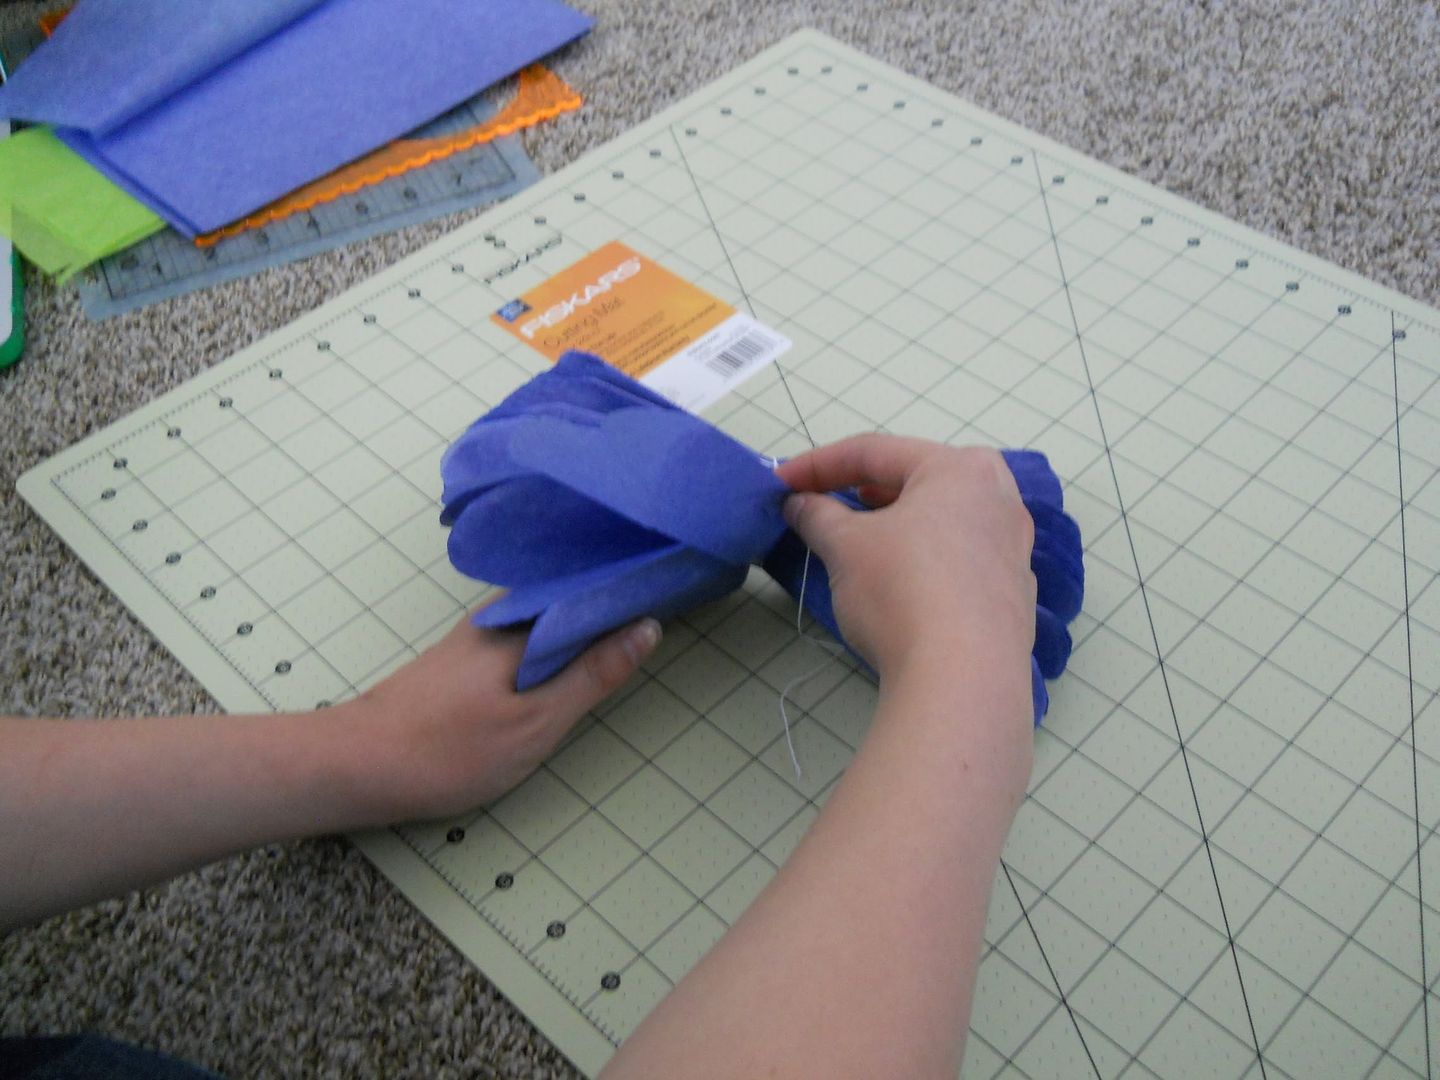

This is with one side finished.
Step 6: Adjust the tissue paper to make the pom-pom exactly how you want it.
There you have it! Originally I made one where the tissue paper was 20"x30", but it was huge...and looked way too big in my dining room. So I then tried the 10"x20" size and thought that one was perfect. So you can definitely play with different sizes to figure out which size is best for you.
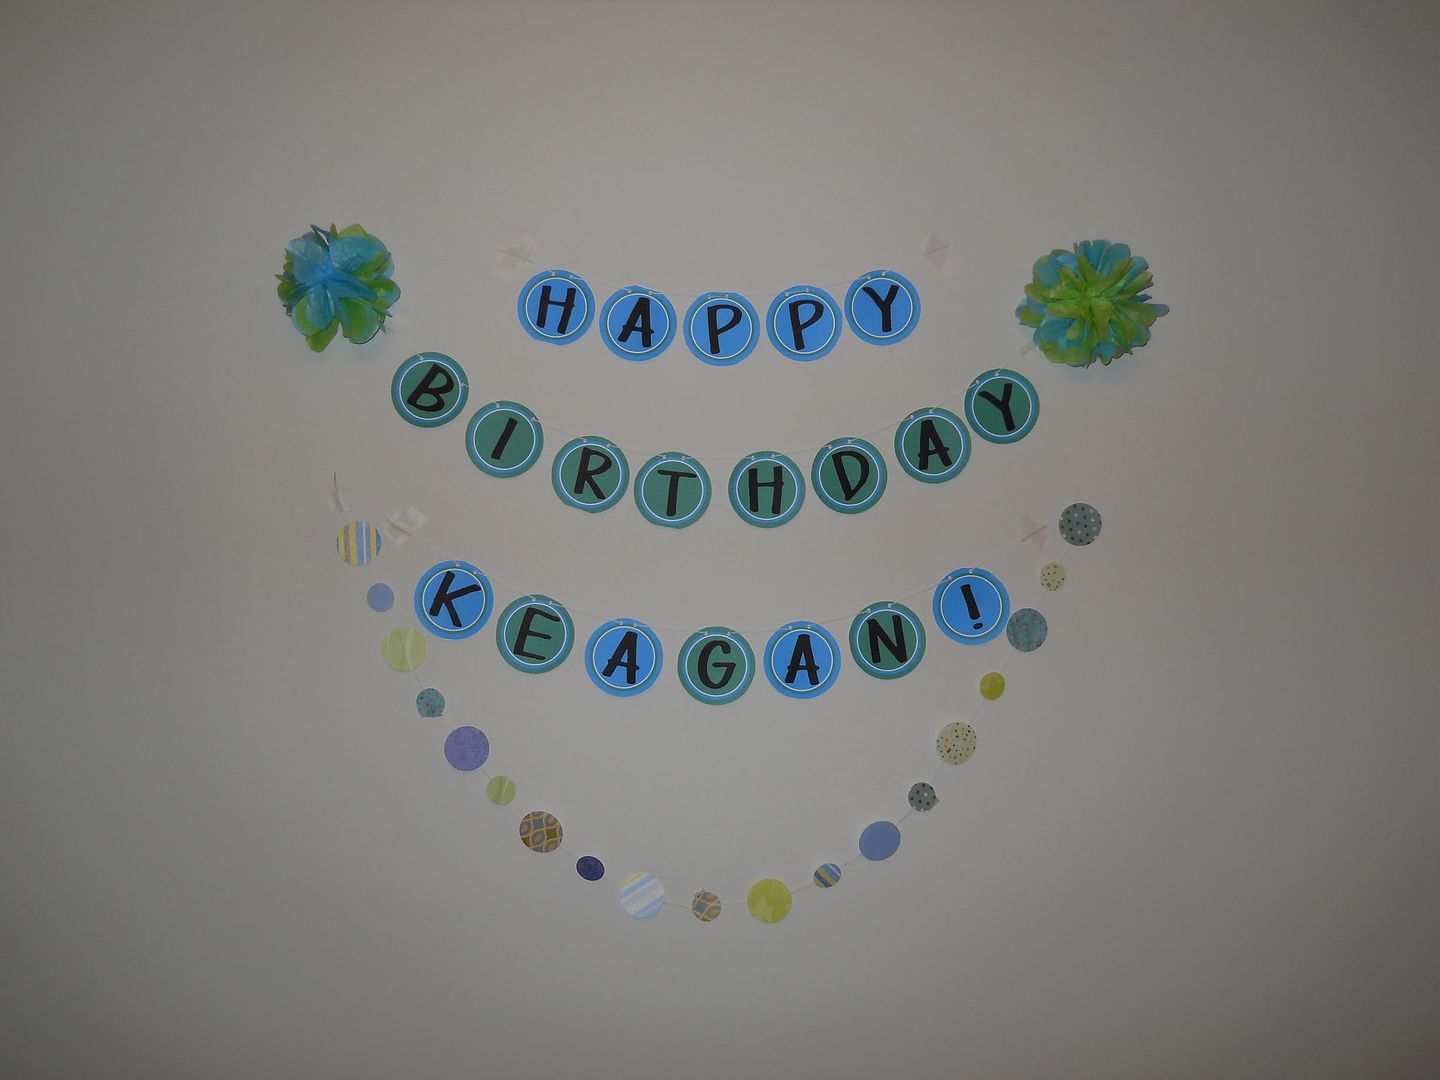
I even made some little ones (I think I used tissue paper 5"x15") and I used two different colors. So when I stacked the tissue paper, I alternated the two colors-blue, green, blue, green, etc. Here's how those ones turned out...
Good luck! Let me know how yours turn out!